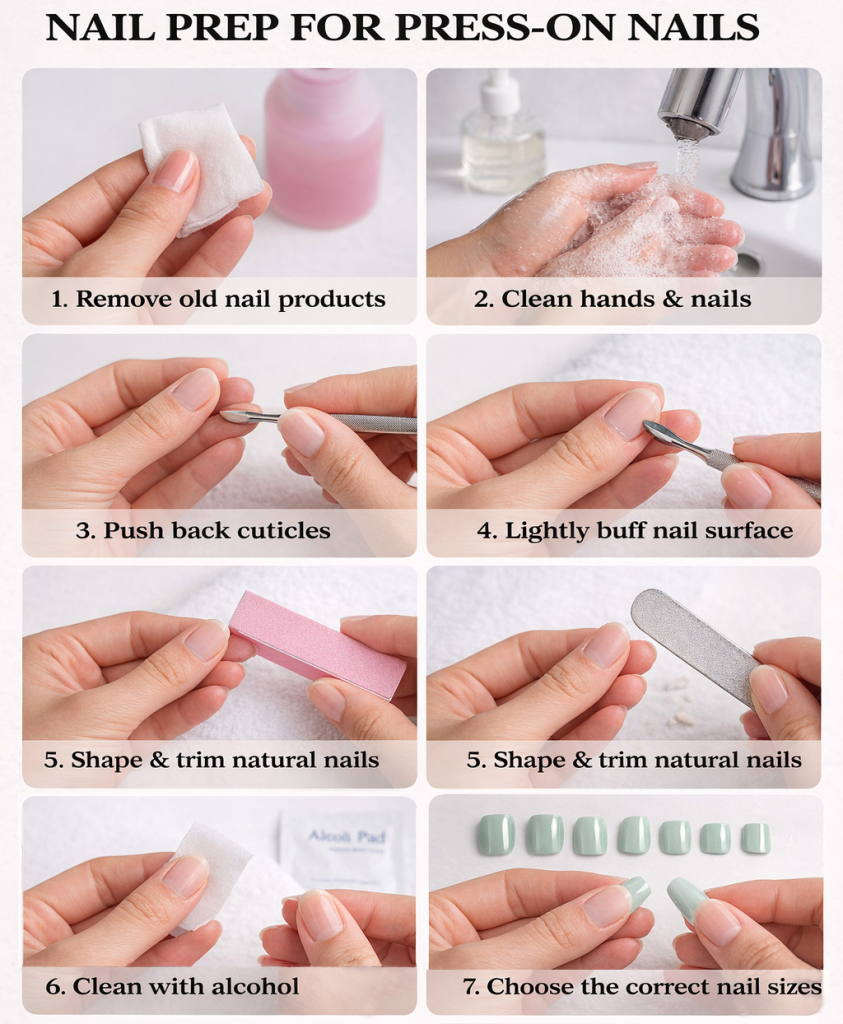
Before applying press-on nails, a little prep goes a long way in making them last longer and look more natural. Here’s a clear, step-by-step prep guide:
- Remove old nail products
Take off any polish, gel, or acrylic residue completely. - Clean your hands and nails
Wash with soap and water, then dry thoroughly. Make sure there’s no lotion or oil left on the nails. - Push back cuticles
Gently push back your cuticles with a cuticle pusher. This creates more surface area for the press-on to adhere to. - Lightly buff the nail surface
Use a nail buffer to lightly roughen the surface of each nail. This helps the adhesive grip better. - Shape and trim natural nails if needed
Keep your natural nails short and neatly shaped so the press-ons sit flush. - Clean with alcohol or nail prep
Wipe each nail with an alcohol pad or nail dehydrator to remove dust, oils, and moisture. - Choose the correct nail sizes
Test-fit each press-on nail and set them in order before applying. A proper fit prevents lifting and popping off.
✨ Tip: Avoid applying press-on nails right after showering or soaking your hands, as nails absorb water and adhesion may be weaker.